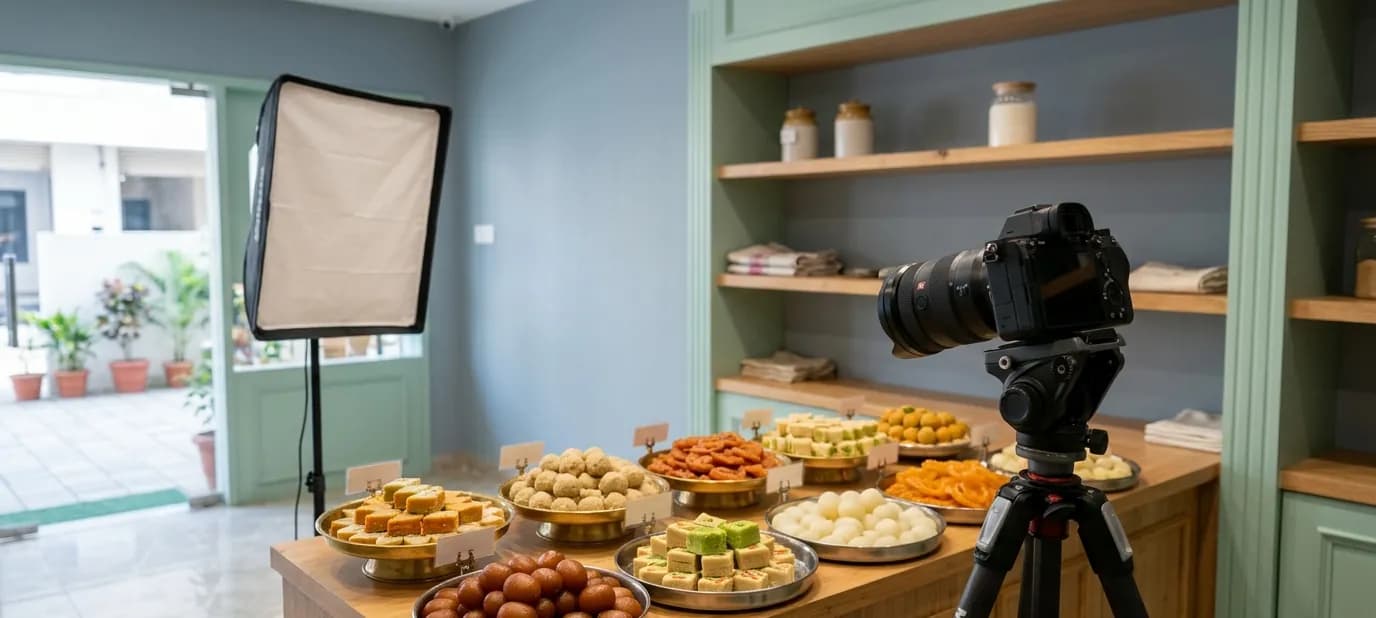

Food photography basics for restaurants and sweet shops
Good food photos make people hungry; bad ones can put them off a dish they'd love. Here are the basics of photographing food well, from light and angles to styling, with Indian dishes and sweets in mind.

Indian food is some of the most beautiful food in the world. A plate of jalebi glistening with syrup, a steaming biryani, a box of kaju katli with silver varq. Yet online, so much of it looks flat, dark or messy. Customers judge with their eyes first, and a poor photo can make an excellent dish look ordinary.
This post covers the basics of food photography for restaurants, cafés, sweet shops and cloud kitchens. You don't need to become a professional, but knowing what makes a good food photo will help you, whether you take photos yourself or work with a photographer.
Light is everything
The single biggest difference between a good and a bad food photo is light.
- Use daylight from a window. Soft, natural light from the side makes food look fresh and real.
- Avoid direct sun, which creates harsh shadows and bright spots.
- Avoid overhead tube lights and yellow bulbs, which make food look dull or orange.
- Turn off the flash. It flattens food and makes oily dishes shine unnaturally.
- Shoot during the day, even if you're mainly open in the evening. Many restaurants photograph their dinner menu at lunchtime for this reason.
Choosing the angle
Different foods look best from different angles:
- From directly above: thalis, platters, pizzas, a spread of dishes, boxes of sweets. Anything flat or arranged in a pattern.
- From the side, at table level: burgers, layered desserts, stacked parathas, drinks in glasses. Anything with height.
- At a slight angle, like a diner looking at their plate: curries, biryani, bowls of chaat. This is often the most natural view.
Try two or three angles for each dish and compare them on your phone.
Styling the plate
Food styling doesn't have to be elaborate. Small touches make a big difference:
- Clean the rim of the plate or bowl. Drips and smudges show up clearly in photos.
- Serve a slightly smaller portion than normal, neatly arranged. A heaped plate looks messy on camera.
- Add a fresh garnish just before the photo: coriander, a swirl of cream, a sprinkle of chopped nuts.
- Show texture: a torn piece of naan, a spoon lifting some rice, a sweet broken in half to show the filling.
- Photograph hot food quickly, while it still looks fresh and glossy.
Backgrounds and props
- Keep backgrounds simple: a wooden table, a plain cloth, a stone surface.
- Use your own crockery if it's what customers will actually receive. It's honest, and it shows your place.
- Add a few props, but not too many: a small bowl of chutney, a glass of lassi, a napkin. They should support the dish, not compete with it.
- Remove clutter: phones, bills, salt shakers, bottles and anything else that distracts.
Sweets and mithai
Sweet shops have their own opportunities and challenges:
- Show the variety: an overhead shot of a mixed box, neatly arranged, is often your most useful photo.
- Show the detail: close-ups of texture, like the layers in a sohan papdi or the shine of a gulab jamun.
- Show the packaging: festival boxes and gift hampers sell on how they look. See signage, packaging and labels.
- Watch reflections on syrupy and silver-topped sweets. Soft side light helps.
- Photograph in season: Diwali, Raksha Bandhan and wedding season specials, so they're ready when customers search.
Keep it honest
The photo should look like what the customer will receive. Over-edited colours, borrowed photos or dishes styled in ways you'd never serve lead to disappointment and poor reviews. Real, well-lit photos of your actual food build trust. See why real photos beat stock photos.
Editing
A little editing helps; a lot hurts. Good basic edits:
- Straighten the photo
- Brighten slightly if needed
- Correct the colour, so whites look white, not yellow or blue
- Crop to remove distractions and fit where it'll be used
Avoid heavy filters. They change the colour of food in ways that look unappetising or unreal.
Where your food photos go
- Zomato and Swiggy: each dish, ideally. See food photos for delivery apps.
- Your website menu
- Your Google Business Profile, where people browsing restaurants look for food photos. See the photos customers look for on Google.
- Instagram, where food is one of the most popular kinds of post
- Printed menus and table tents
Getting help
Our photography service includes food photography at your restaurant or shop, planned around your menu and edited for colour and light. It pairs well with our Zomato and Swiggy menus service, so your photos and descriptions work together on every platform.
In short
- Soft daylight from a window is the biggest single improvement to food photos.
- Choose the angle for the dish, clean the plate, add a fresh garnish and keep backgrounds simple.
- Keep photos honest: they should look like what the customer will actually receive.